Home Networking: Wiring the House
Hi everyone! The past several weeks has been nuts, but lots of good things have come out of it. On the bright side, the house is now wired and ready for the installation of the network/phone gear. It’s simple, and I feel like I have made a clean path for managing everything. However, I did have some hiccups with running the wires, and I’ll explain them now to get them out of the way. If you don’t care, skip the next paragraph...
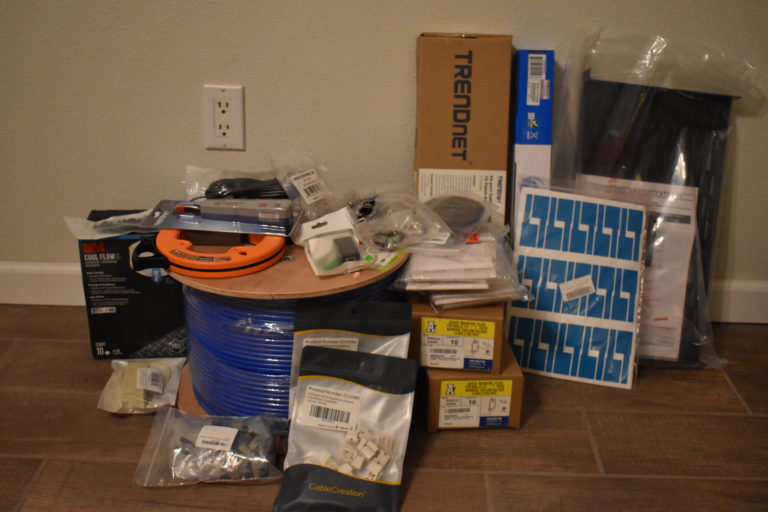
Starting off, wiring the house took roughly three weeks. “But why?” you ask, and I have an answer: Being sick, having a wife that works graveyards, and having other obligations besides dedicated home-work. Next was finding out that I was short on my Cat5E cable, of which I thought I had >500ft. Turns out I was wrong and ended up acquiring a 1000’ box from the local Home Depot to play it safe (and I’m glad I did too). After that, it was realizing that I should have installed the cable management first rather than clean everything up after. Finally, it’s been freezing, which makes crawling around in the attic not so bad but working in the garage not so much.


Now for the fun parts. The first thing I did was went through and figured out all the locations in the house that currently had wiring going to it. Since none of the phone jacks worked in the house it was easy figuring out where the new wires were going. With the downtime I had during the week, I made a map of all the cable drops and labeled all the drops based on the wires. By doing this I had a checklist for what needed to get done.
For two out of the three weekends, I recruited a friend to help knock out the actual running of the wires. This made most of the work go significantly faster (when I didn’t accidentally pull the old wire up the wall) since all we had to do was hook the new wire on to the old wire and yank.
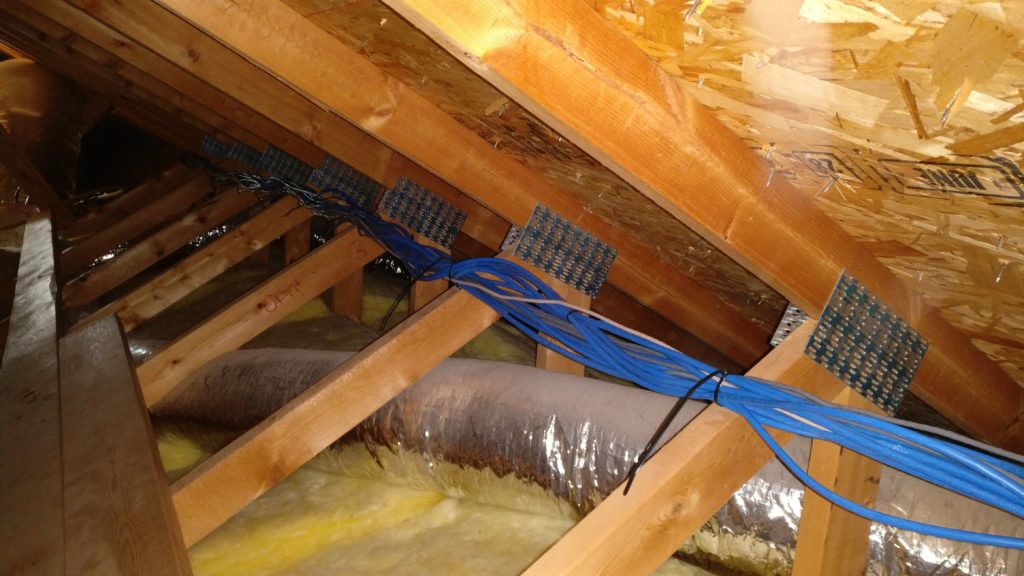
Once all the wires were run, and I determined how messy things were in the attic, I decided to pull them out of the garage up into the attic, and route them through the cable management so it looked nice. This was a very time-consuming part that I really wish I did beforehand, and HIGHLY recommend anyone doing a project like this to do.


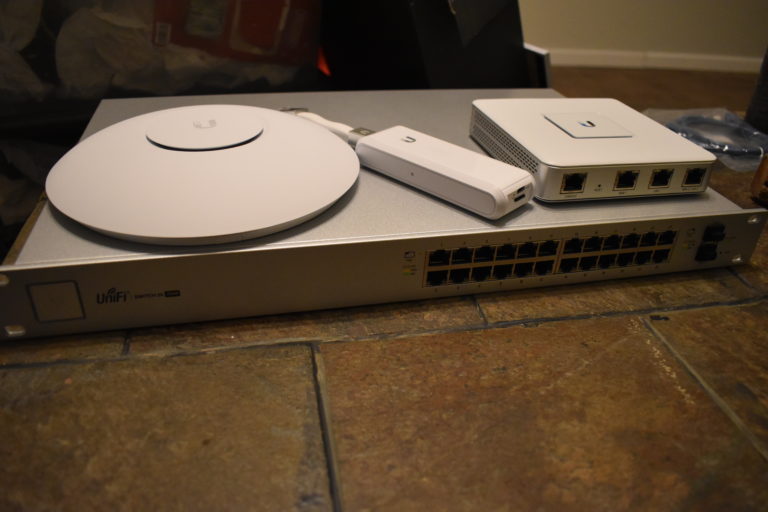
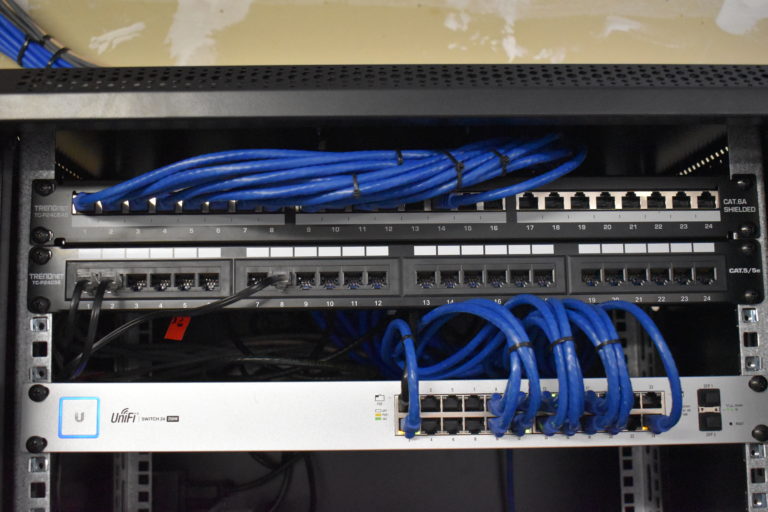
The last major thing I did was hook the wires up at both ends. The patch panels were the fun part, and was the first time I wired one. After that, it was taking care of all the wall keystones. I didn’t realize how much of a pain in the butt dealing with shielded Cat6A cable was, but when it’s done it looks quite nice. Once all the cables were properly hooked up, I attached my new switch and verified I had a gigabit link between it and my laptop.
That wraps up this part on the wiring. There’s a good chance I’ll be adding wires to the patch panels later, but all my wall plugs now work!